
Understanding the Step-by-Step Roof Replacement Process
For many homeowners, the realization that it might be time for a new roof brings a wave of anxiety. When the wet season arrives in the Pacific Northwest, a small leak can quickly turn into a major headache. If you live in Monroe or the surrounding areas, you know exactly how demanding our local climate can be on your home's exterior. Between the heavy rain, wind, and falling debris from evergreen trees, your roof works overtime to keep your family safe and dry.
At Continental Roofing LLC, we understand that replacing your roof is a significant investment. Homeowners often wonder what exactly happens between signing a contract and seeing the finished product. The industry has unfortunately struggled with trust issues, which is why we believe in complete transparency. By walking you through the step by step roof replacement process, we hope to remove the mystery, ease your concerns, and show you exactly what it takes to build a roof that will last for decades.
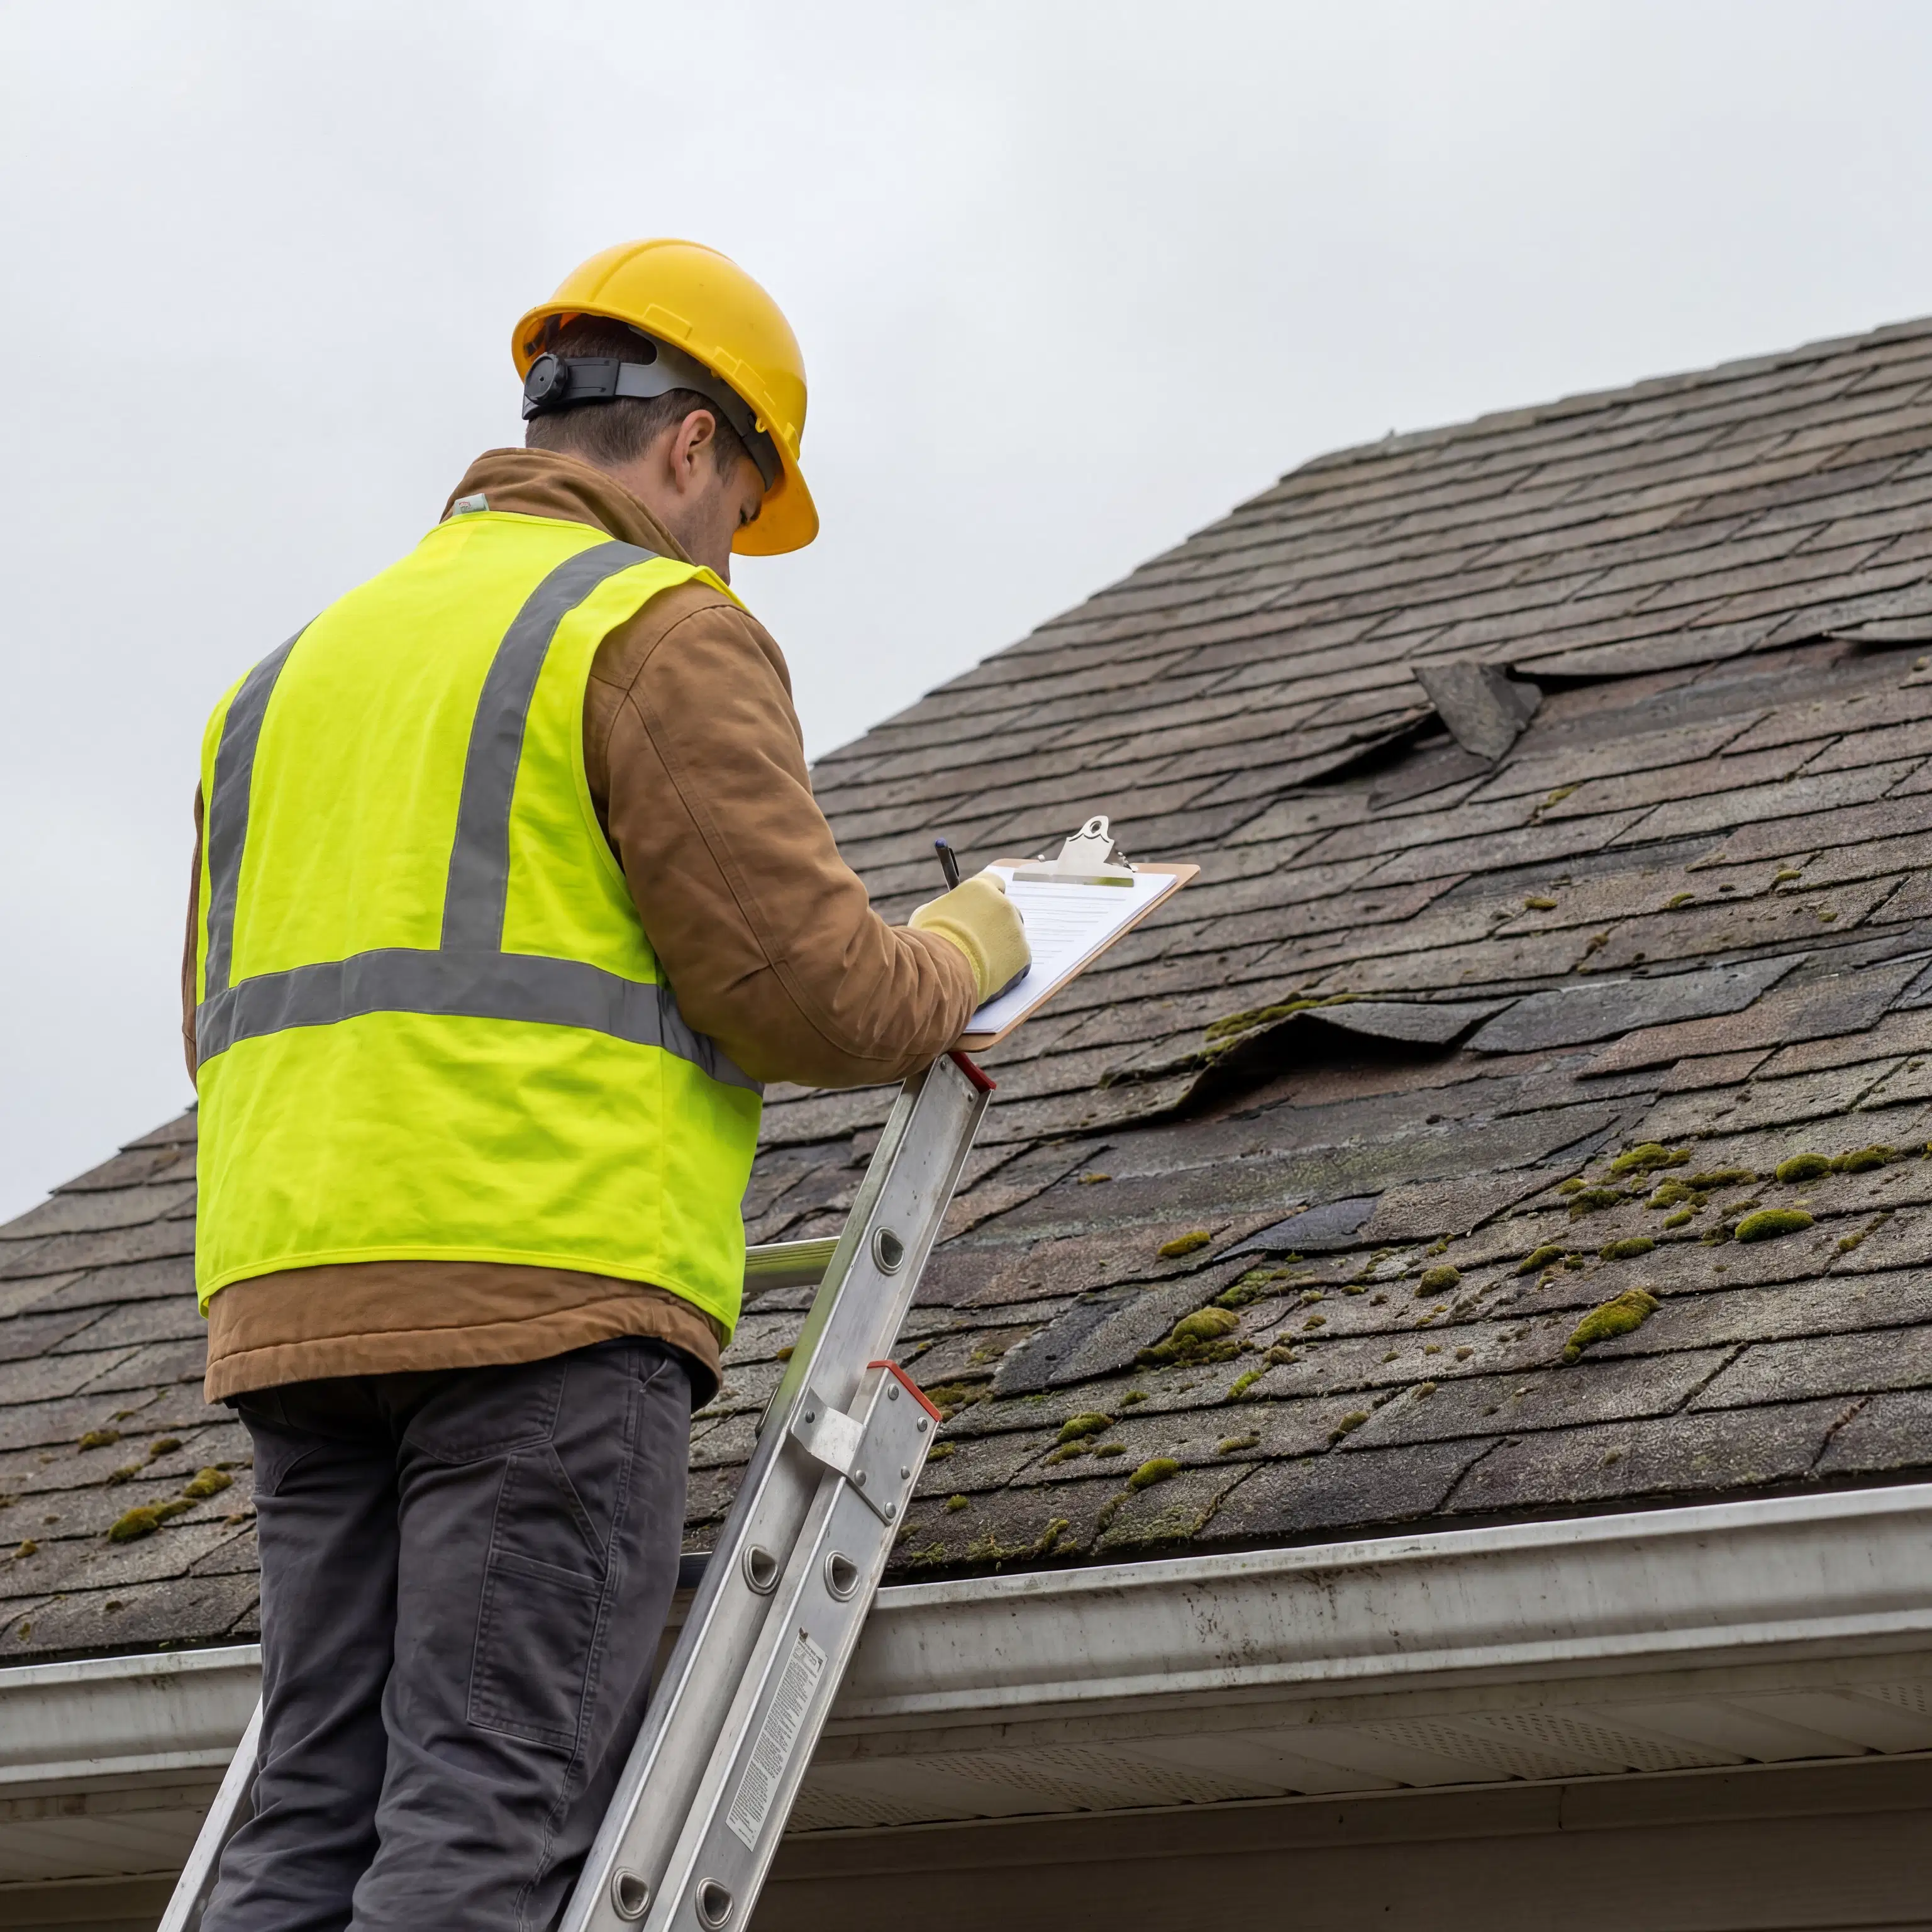
Phase 1: The Initial Inspection and Planning
Long before any shingles are removed, a successful project begins with a meticulous inspection. Today, we often utilize drone-based aerial imaging to get a highly accurate, comprehensive view of your roof's condition without causing any unnecessary wear and tear. During this phase, we are looking at much more than just the surface material. We assess your attic ventilation, check the integrity of your flashing around chimneys and skylights, and look for any immediate vulnerabilities.
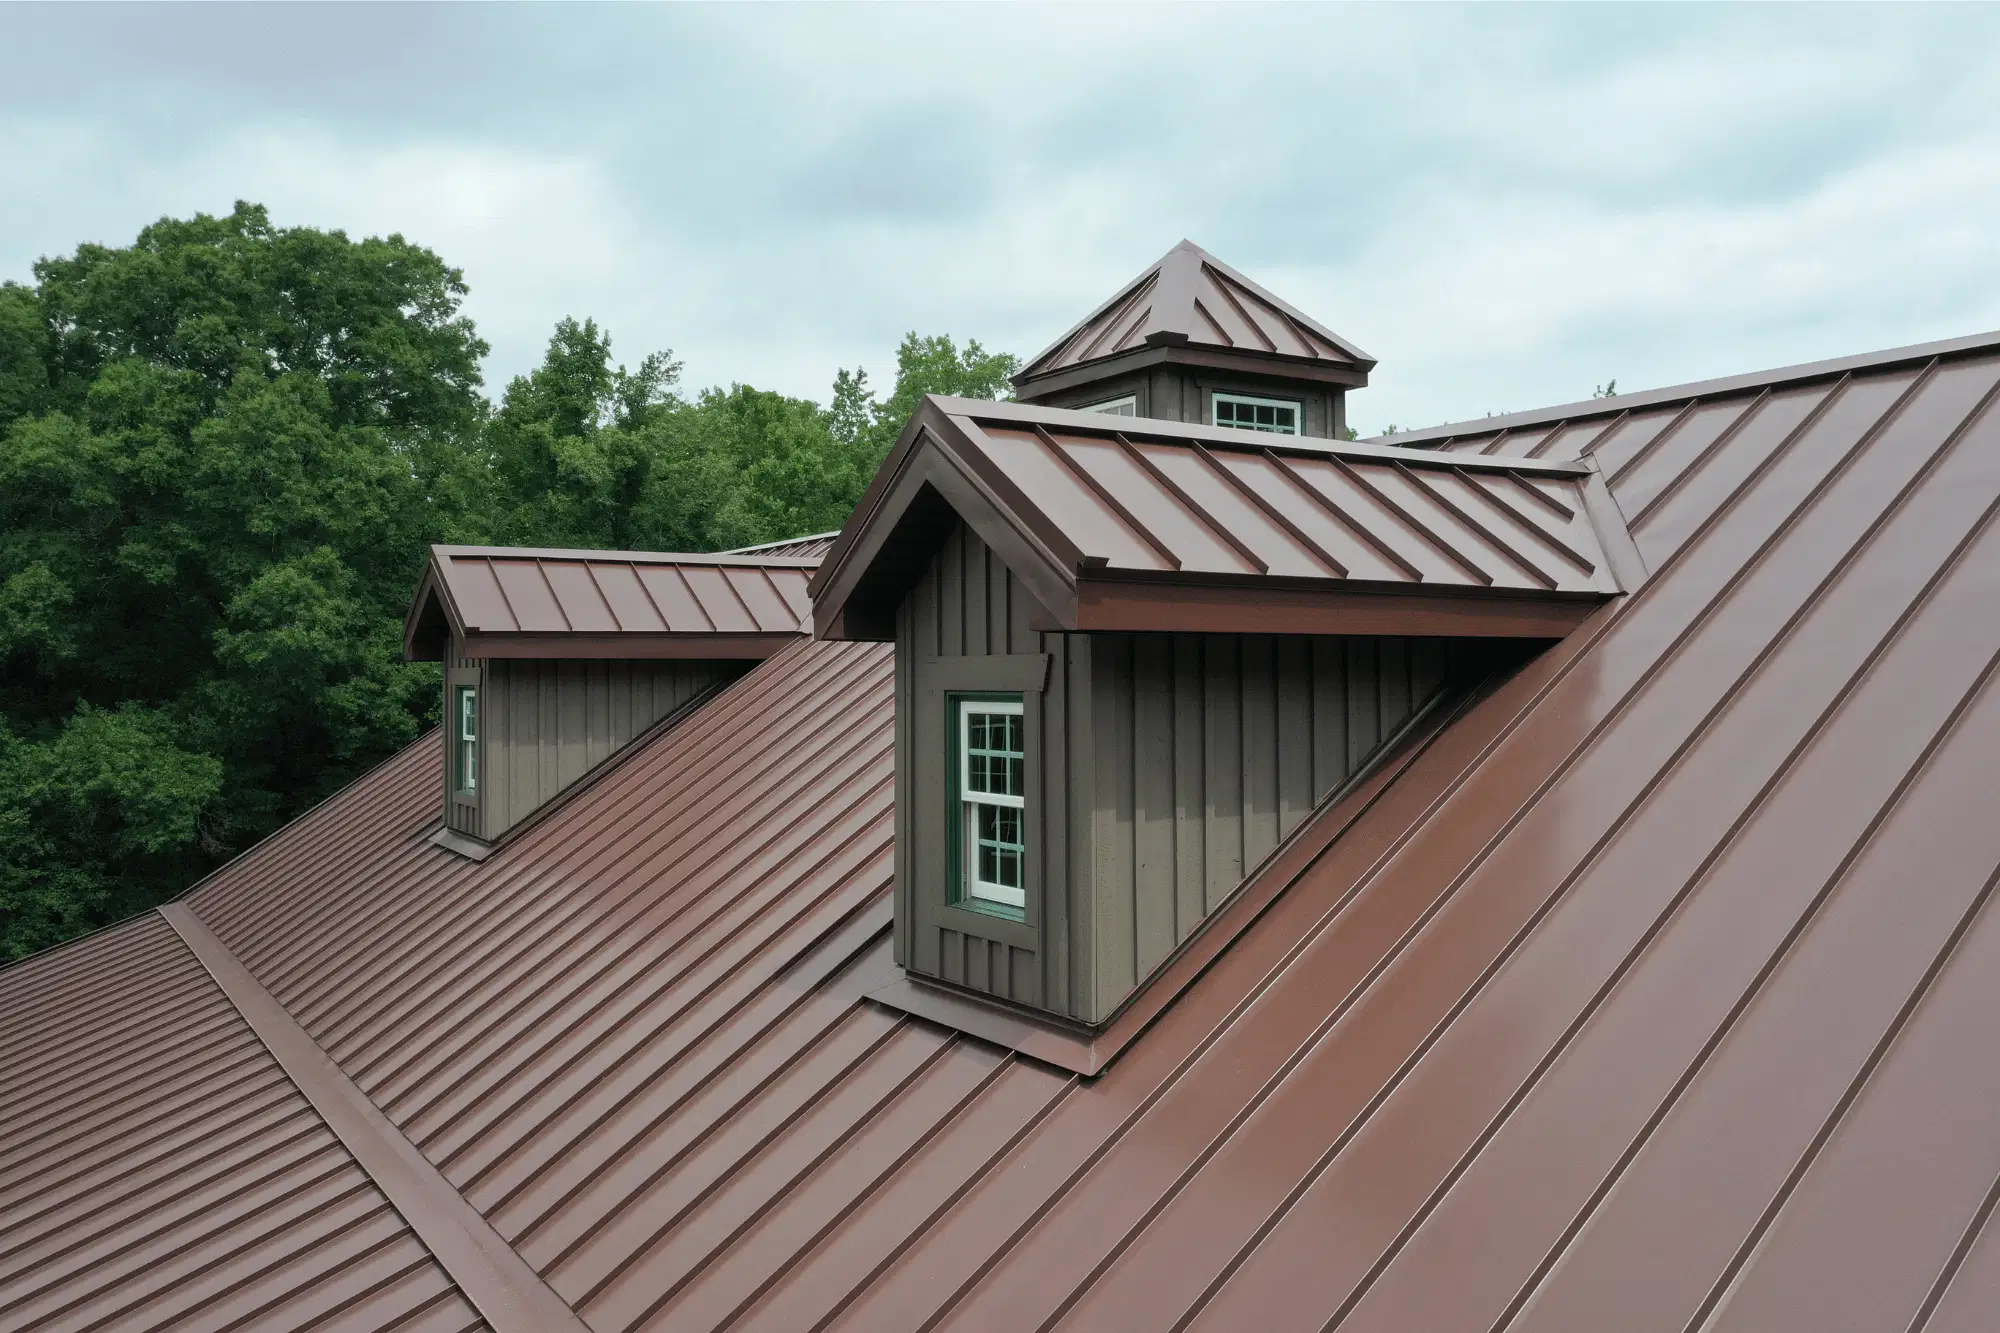
Sometimes, what looks like a need for a full replacement might actually just require targeted Roof Repairs. However, if a replacement is necessary, this detailed inspection allows us to provide a transparent, accurate estimate with no hidden fees. We also discuss material options. While asphalt shingles are popular, many homeowners in our area are upgrading to metal roofing due to its incredible durability and resistance to our local weather.
Once you approve the proposal and select your materials, we handle the administrative heavy lifting. This includes securing the necessary re-roof permits from the county to ensure everything is strictly up to code. We also know that budget is a major concern for many families, so we make sure to discuss flexible financing options that can make the project more manageable.
Phase 2: Site Preparation and Tear-Off
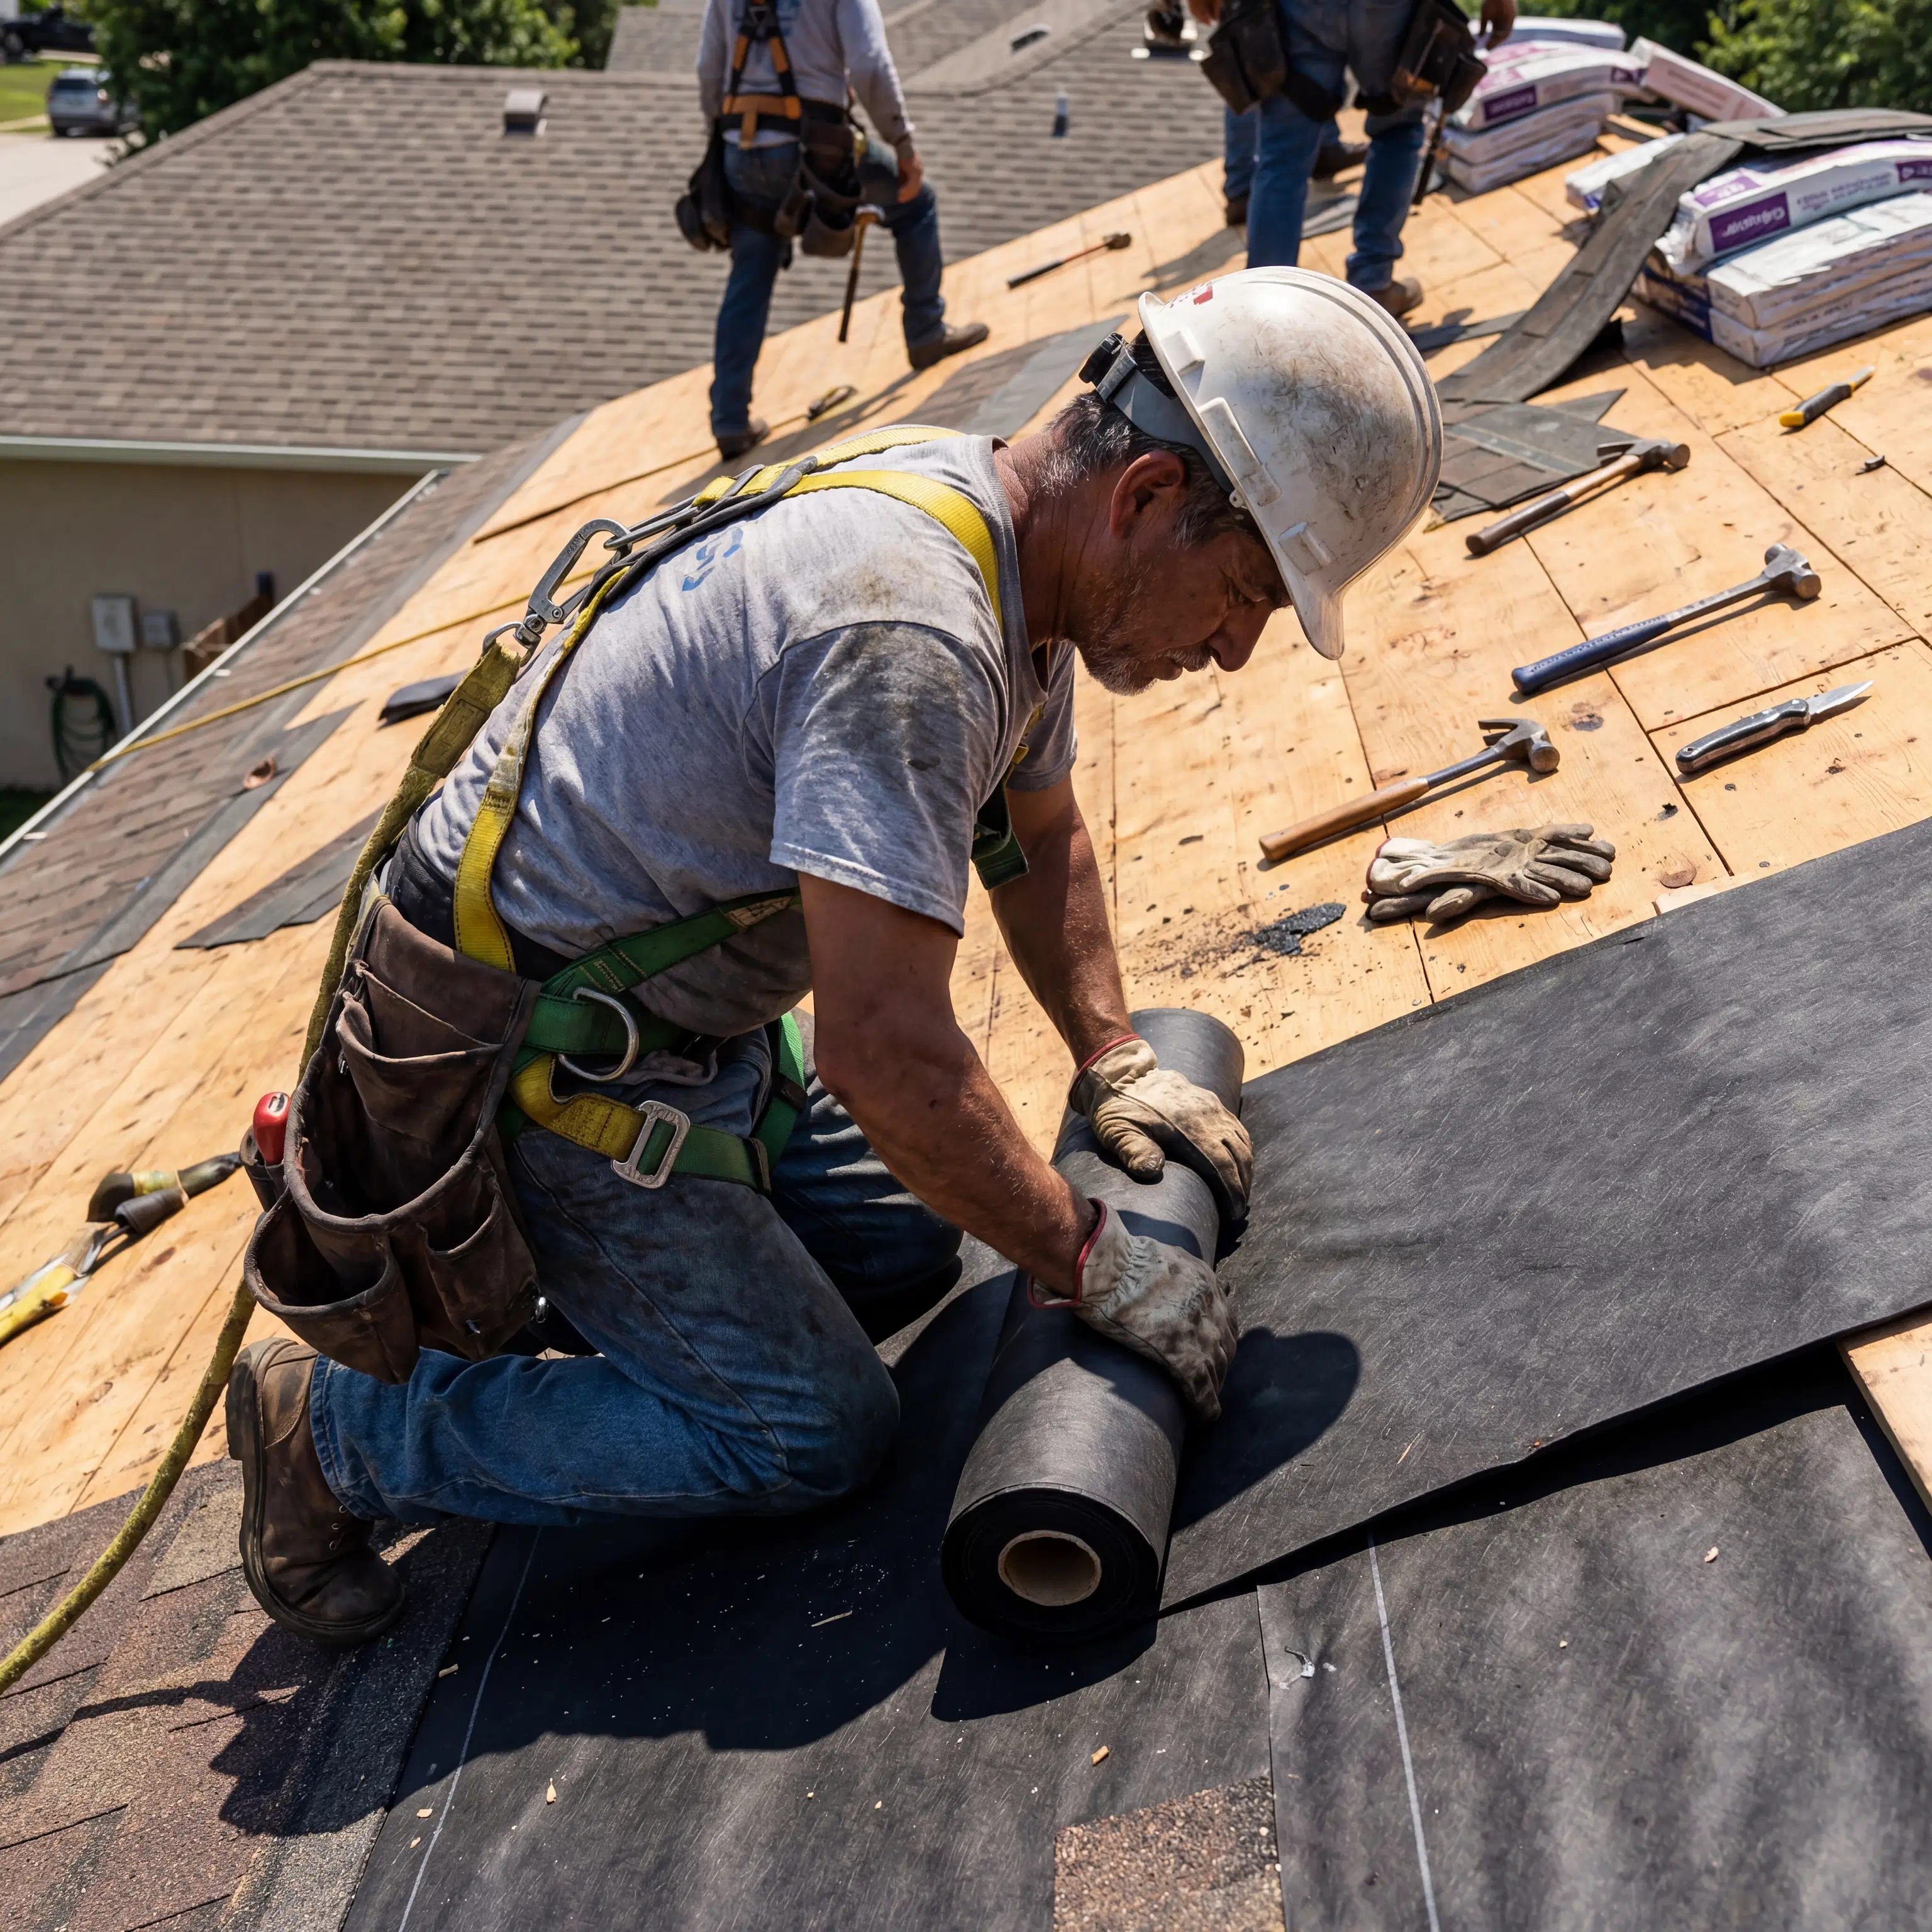
When installation day arrives, our first priority is protecting your property. We take great care to shield your landscaping, air conditioning units, and decks from any falling debris. Safety anchors are installed to protect our crew, ensuring we remain fully compliant with all state safety regulations.
Next comes the tear-off. We remove the existing shingles, underlayment, and old flashing down to the bare wood. This is a critical step in our build it once, build it right philosophy. You cannot build a reliable roof on a failing foundation. Once the deck is exposed, we conduct a thorough inspection for signs of roof decking rot and water damage. In older homes, it is not uncommon to find delaminated plywood or broken boards that have suffered from years of moisture intrusion. Any compromised wood is replaced to ensure a solid, structurally sound base for your new roof.
This is also the stage where we evaluate your home's defense against moss. Proper moss mitigation starts with a healthy, dry roof deck and excellent ventilation, which prevents the moisture buildup that allows algae and moss to thrive in SnoCo.
Phase 3: Building from the Deck Up
With a solid deck prepared, the actual Roof Replacement begins. We start by applying an ice and water shield along the eaves, valleys, walls, and around all penetrations like skylights and chimneys. This specialized membrane provides a crucial waterproof barrier in the areas most susceptible to leaks during heavy rainstorms.
Next, a high-quality synthetic underlayment is rolled out over the entire roof deck, followed by the installation of drip edge metal on the eaves and rakes to direct water away from your fascia boards. If our initial inspection revealed that your attic ventilation needed updating to meet current energy codes, those improvements are made now. Proper ventilation is essential for regulating attic temperatures and extending the life of your roofing materials.
Finally, the new roofing material is installed. Whether you have chosen architectural shingles or a premium metal roof to combat the liquid sunshine, our crew pays meticulous attention to every detail. All required flashing is carefully integrated to ensure watertight transitions across the entire structure.
The Final Walkthrough and Cleanup
We believe that a job isn't truly finished until your yard looks better than when we arrived. Our final cleanup process includes a thorough sweep of your property with heavy-duty magnets to catch any stray nails, as well as a complete clearing of your gutters to remove any debris generated during the installation.
Before we consider the project complete, our project manager conducts a rigorous final inspection to verify that every flashing detail, ventilation requirement, and permit standard has been met. We then walk through the finished project with you, providing photos of the process, explaining your warranties, and offering maintenance recommendations to keep your new roof in pristine condition.
If you are noticing signs of wear on your roof or simply want the peace of mind that comes with a professional inspection, Continental Roofing LLC is here to help. As a local Monroe business, we pride ourselves on delivering exceptional craftsmanship and reliable service to our neighbors. Contact us today to schedule your consultation and take the first step toward a safer, more secure home.